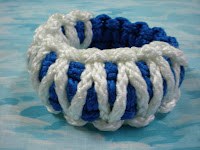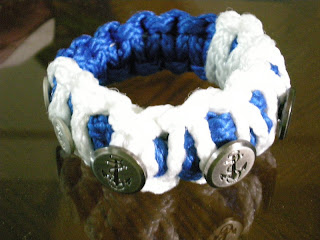

One of my coolest bracelet's yet. It is very simple to tie. The only difference in it is how you arrange the cord before you start the knot.
I have added a picture showing how I attached both the cords together. But if you are using only one colour, forget the white cord I have used. Basically, you find the center of the piece of cord, fold it in half, make a kinda loop by putting the working ends through the loop. Adjust the loop to fit around your hand. You should be able to slip it onto your hand. So for this bracelet, I used around 10 ft of blue cord and around 8 ft of white cord. That was my last bit of white cord, so I ended up with less. So since I couldn't do the King Cobra Stitch all around, I did it for about half the bracelet.


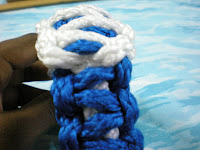
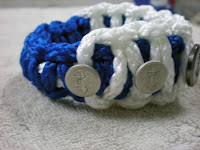
I started with the loop, also called a lark's head. I secured the larks head in place with the help of a twist tie. Then I tied the blue cord. It ended up to be a bit less, so I pulled the cobra stitches to extend over more area. Then I cut and secured the ends with super glue. I did the cobra stitch around the blue AND white core. Then I started the King Cobra stitch with the white cord. But I ended up having too less. So I removed the King Cobra stitch. Then I passed it under a bit of the cobra stitch, then I started tying the King Cobra stitch TOWARDS the beginning of the White King Cobra and the end of the Blue Cobra stitches. I did this to cover up the part of the bracelet that removes its looks of uniformity. And then, after I finished the King Cobra, I tucked the remaining strands under the King cobra and cobra stitches, and then cut and secured the ends. Then I attached some anchor buttons to the bracelet. To be exact, I used three big buttons and four small buttons. That made this awesome bracelet.


No comments:
Post a Comment